


With the release of the SCYTHE Software Development Kit (SDK), we released two new and important components to help make the development of SCYTHE modules frictionless for third party developers: the Module Buster application and the Python3 runtime.
We feel that one of the best ways for us to demonstrate how easy it is to create a new SCYTHE module is to demonstrate how we ported an open source tool, written in Python, to SCYTHE.
Creating a SCYTHE Module from a Python Script
Step 0: Selecting the Tool
Our criteria for choosing a tool to port to SCYTHE was:
- Open Source
- written entirely in Python
- requires little-to-no changes to the code to port
- use little-to-no third party Python packages
- functionality that an adversary would leverage
The winner of our search was the LMO utility by Rob Fuller (@mubix), which is the client-side of the LetMeOutOfYour.net website.
The specific file we want to port to SCYTHE is lmo-oob.py, which performs two functions:
- checks the ability to egress traffic from the endpoint to a domain over a variety of ports.
- beacons results of tests back to a domain over DNS, hence the “Out Of Band” (OOB).
With our file selected (and it being less than 50 lines of Python) we can now move forward with constructing a module for SCYTHE!
Step 1: Slight Modifications to the Original Python File
In order to make lmo-oob.py SCYTHE-import-friendly, we only had to change the following:
First we created a global array object to store all of the results in, so instead of just printing them or sending them OOB, we can return them to a Python script calling this tool.
Second, we wrapped the primary functionality in a def main function call, converting
for port in ports:
to:
And that’s it! The lmo-oob.py file can now be used in SCYTHE!
(Note: Because SCYTHE will be acting as a C2 in this example, we actually don’t need any of the “OOB” part of the Python script; so that can optionally be removed as well!)
Step 2: Collecting Third Party Packages
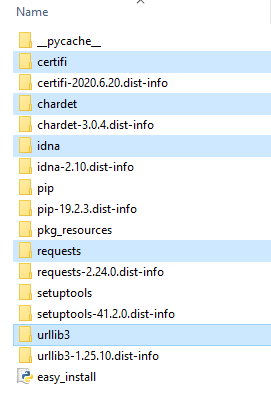
The LMO script does require the use of the Python requests package so we will need to embed those third party packages into the SCYTHE module. These were gathered by executing the following (on Windows):
We can then get the produced folders by navigating to .\venv\Lib\site-packages\ and saving the new downloaded package folders somewhere for us to use later.
Step 3: Creating our Module’s Skeleton
We are now in the SCYTHE SDK part of the process and to get started we need just a couple of prerequisites (for a Windows environment):
- Download/Install Visual Studio Community Edition (no other add-ons needed)
- Download the SCYTHE SDK & Install the Module Buster
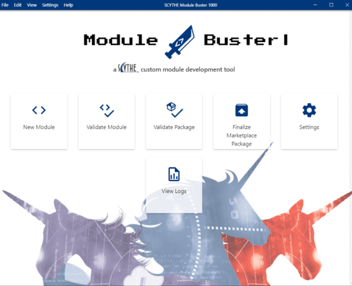
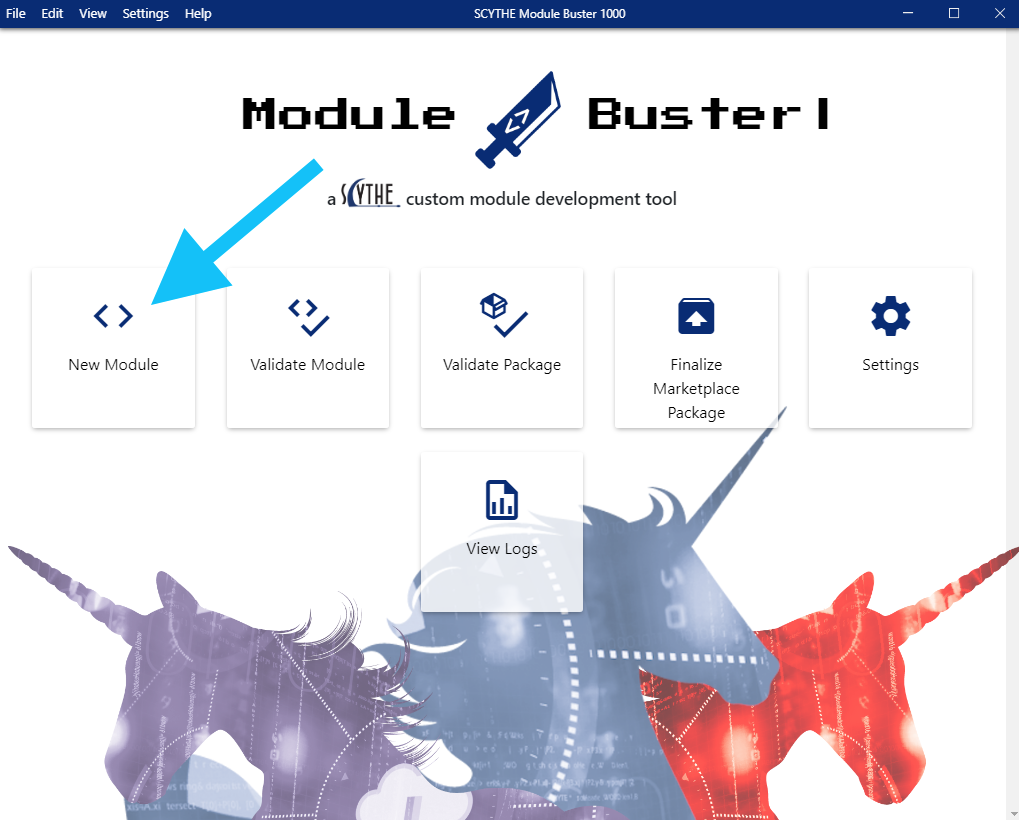
Once the above are completed, we can create our default SCYTHE Module “skeleton” by opening Module Buster, and selecting “New Module”.
We then define the following:
- Runtime → Python 3
- Target Operating System → Windows
- CPU Architecture → x86 & x64
- Module Type → Capability
- Company Name → test_company
- Module Name → test_lmo
- Display Name → Test LMO
- Description → Our port of LMO to SCYTHE
- Icon File → (insert any 77x77 PNG)
- Save Location → C:\Users\<YOUR_USERNAME>\Desktop
… and click “Create Module”!
This will create the following directory structure on your desktop:
C:\Users\<YOUR_USERNAME>\Desktop\modules\python3\test_lmo\windows\src\
All the files contained within the src directory utilize the default “Echo” SCYTHE Module. And there are two files particular worth noting:
A. The SCYTHE “client” file, which is the code that will be run on a target endpoint. Located at the following location:
- ...\src\py\test_company\test_lmo\test_lmo.py
B. The SCYTHE “server” file, which is the code the SCYTHE server uses to define arguments sent to the client, server-side formatting, etc., is located at:
- ...\src\artifacts\scripts\scythe_testing\scythe_lmo\scythe_lmo.py
(Additional note: In this example we will only be working with the “client” file, this is done for the sake of brevity. However example source code will be provided for a more elegant “server” file.)
Step 4: Adding in Third-Party Packages & Script
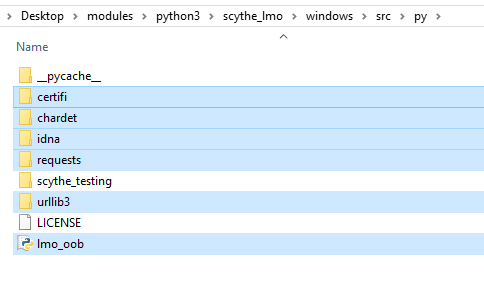
We now need to add in the LMO code and packages to the SCYTHE Module skelton directory structure. This can be done by:
- Copying our modified lmo-oob.py file and the third-party package directories, into the following folder:
C:\Users\<YOUR_USERNAME>\Desktop\modules\python3\test_lmo\windows\src\py\ - Renaming our newly moved lmo-oob.py file to lmo_oob.py.
Step 5: Modify the SCYTHE Module Code
With the SCYTHE SDK, consider the following:
- The SCYTHE client offers the Module a request “message” produced by the SCYTHE server based on the operator's input.
- The Module needs to reply with a “message” back to the SCYTHE client, and this reply will make its way back to the SCYTHE server.
- The Module can use other Python packages.
With all the third party dependencies in place we are now ready to modify the SCYTHE module's client side code to import and run the LMO code we have imported into the directory structure!
In order to call the our just-copied lmo_oob.py file, we simply have to:
- Open the following SCYTHE “client” file:
C:\Users\<YOUR_USERNAME>\Desktop\modules\python3\test_lmo\windows\src\py\test_company\test_lmo\test_lmo.py - Add to the top of the file, the line:
import lmo_oob.py - Modify the “run” function to be:
And that is it. You’ve now successfully ported LMO to a SCYTHE Module!
(Note: The above code examples are commented/explained in the example code shared at the bottom of this post!)
Step 6: Package the Module
With the Module code in place, we need to build a package and test that it runs as expected.
To build the Module package we can use the already included build script in the module’s folder.
- Open the “Developer Command Prompt for VS”.
- Change the current working directory:
cd C:\Users\<YOUR_USERNAME>\Desktop\modules\python3\test_lmo\windows\
- Then run the build script via: build.bat
This will create a package.zip at the following location:
C:\Users\<YOUR_USERNAME>\Desktop\modules\python3\test_lmo\windows\bin\package.zip
(Note: Remember the location of this package.zip file, as this is the file we will install into SCYTHE later!)
Step 7: Validate the Module
With the Module package created we are ready to validate it working in SCYTHE's in-memory Python3 runtime environment. To test this we need to:
- Open Module Buster
- From the Home Screen, select “Validate Module”
- Use the settings:
a. Module Directory → C:\Users\<YOUR_USERNAME>\Desktop\modules\python3\test_lmo\windows\
b. CPU Architecture → x64
c. Module Dependencies → [N/A]
d. Module Command → --message Test
e. Runtime → C:\Program Files\Scythe\Module Buster\resources\app\runtimes\python3\x64\windows
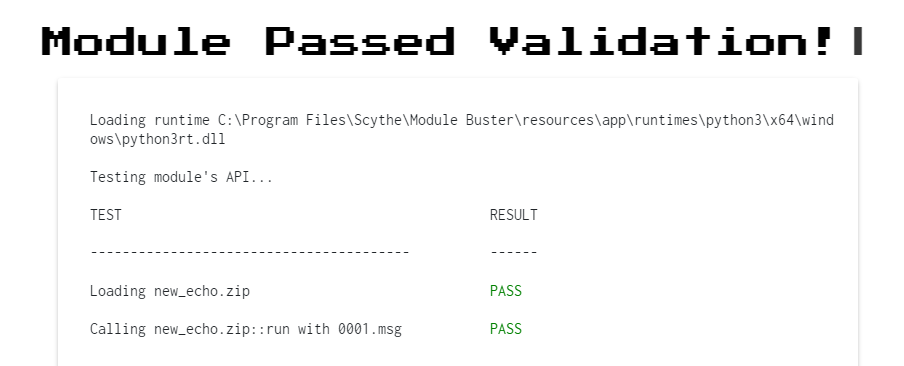
f. Verbose Mode → [Unchecked] - Click “Validate Module”
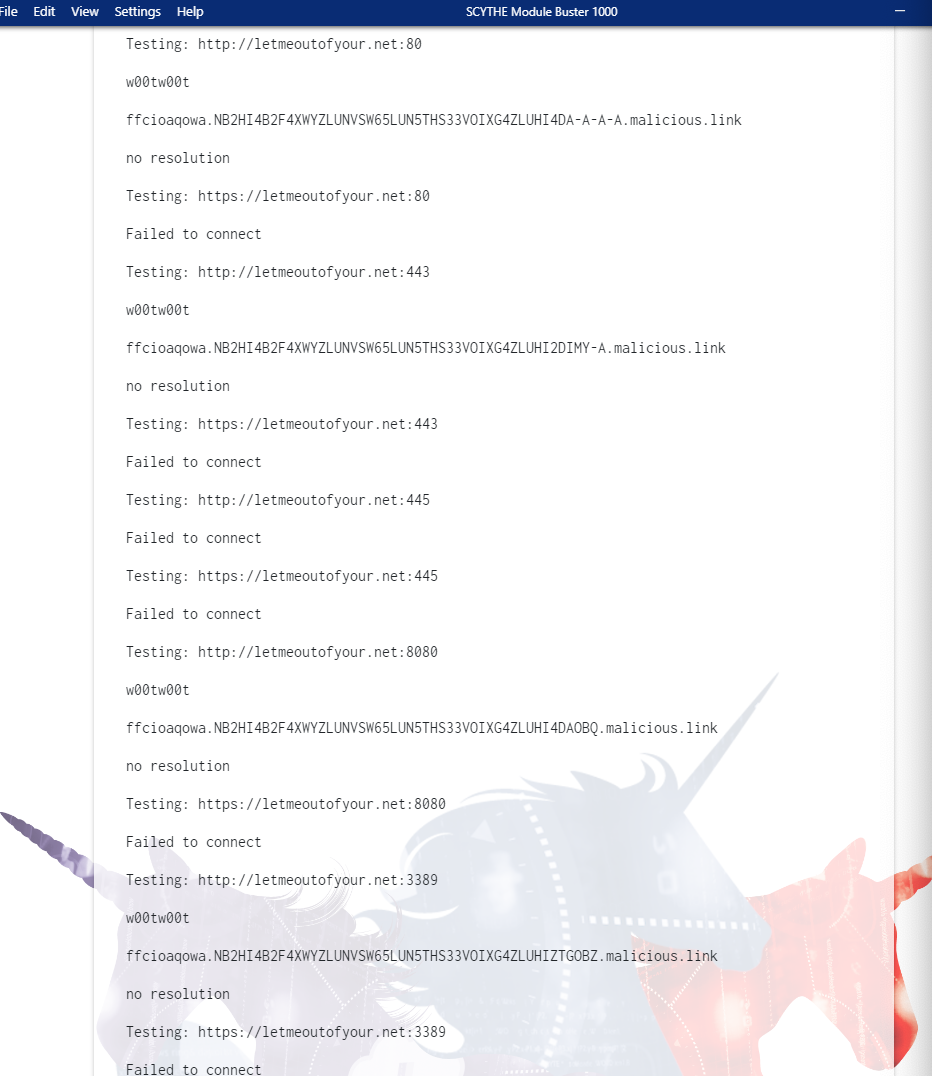
If everything went according to plan you should see “Module Passed Validation” at the top, and towards the bottom, you should see the output of LMO!
Step 8: Install and Run in SCYTHE
Now that we have created a working SCYTHE Python Module package, we can take the final step to install and run the Module in SCYTHE. Note that this requires SCYTHE v3.0 or higher!
- Generate a SCYTHE Marketplace Key Pair
a. (Sidebar) Administration → Marketplace
b. (If None) click “Generate Key”
c. (wait until field populates) - Enable “Developer Mode”
a. (Sidebar) Administration → Settings
b. Developer Mode → “Yes”
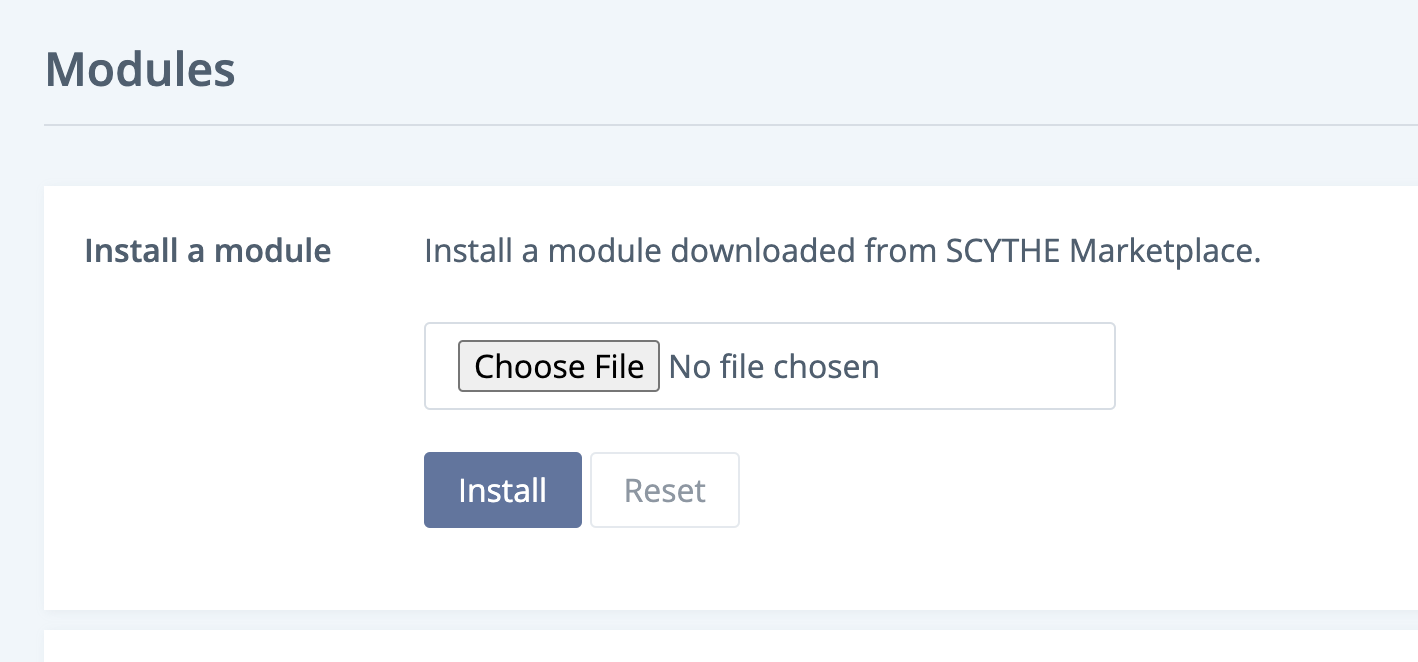
c. (Scroll to bottom) → Save - Install Module Package
a. (Sidebar) Administration → Modules
b. Choose File → “package.zip”
i. (... this is the file from Step #6!)
ii. (Although it automatically attempts to select a “.arca” file, you can change the target file type in the file selection window.) - Create Windows Campaign
- Detonate payload on Endpoint
- From Endpoint Shell, run commands:
a. loader --load-runtime python3
b. loader --load test_company.test_lmo
c. test_company.test_lmo
And with that final command you should see the output of your custom/ported SCYTHE Module in the Shell interface! Congratulations, you have just ported a custom Python script to SCYTHE, and ran it on an endpoint in an in-memory Python runtime environment!!!
Source Code for the SCYTHE-LMO Module
We have gone ahead and published a slightly-more-advanced version of the Module described above on our Github here. The published version includes the sending of parameters, some validation, and the formatting of Request messages in the SCYTHE server user interface.
Note of Thanks
We want to give a massive thank you to Rob Fuller (Mubix) for working with us on the creation of this SCYTHE Module and this walkthrough. Rob does amazing work, and we are incredibly grateful for his time and support. Please go check out all the awesome work Rob is doing here: https://twitter.com/mubix.
About SCYTHE
SCYTHE provides an advanced attack emulation platform for the enterprise and cybersecurity consulting market. The SCYTHE platform enables Red, Blue, and Purple teams to build and emulate real-world adversarial campaigns in a matter of minutes. Customers are in turn enabled to validate the risk posture and exposure of their business and employees and the performance of enterprise security teams and existing security solutions. Based in Arlington, VA, the company is privately held and is funded by Gula Tech Adventures, Paladin Capital, Evolution Equity, and private industry investors. For more information email info@scythe.io, visit https://scythe.io, or follow on Twitter @scythe_io.
Related Articles